News Post
How to Scan, Sign and Email/Print Documents on iPhone (without a third-party app)
Published on October 3, 2022
When you need to sign a document and email it back quickly, or you just want to save time, try the following steps to scan, sign and email or print using your iPhone. In the example steps and photos below, I am using iOS Version 16.0.2, but other iOS versions may be the same or similar. I am less familiar with Android devices, but I could not find a way to sign a document without using a third-party application. See here for an example for Android.
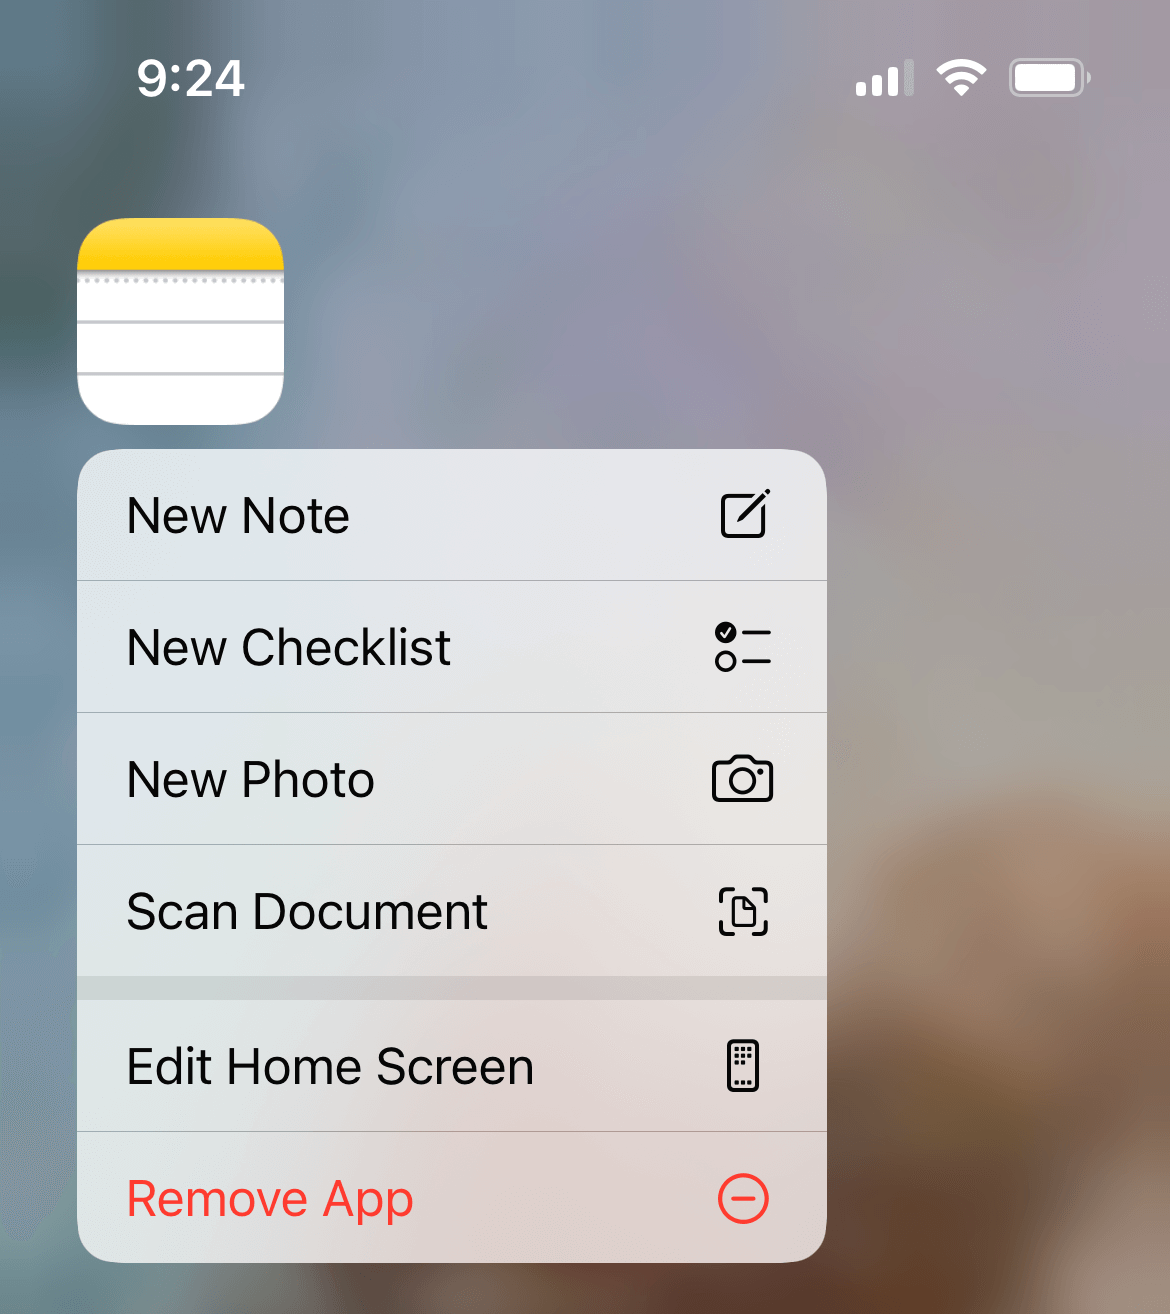
1. Press and hold the Notes icon until the menu appears. Select “Scan Document” from the menu. (Alternatively, you can open the Notes app, tap the new note icon in the bottom right corner, tap the camera icon, and then select “Scan Documents.”)
2. Position the document in front of the camera. If your iPhone is in Auto mode, the camera will automatically take a picture of the document. (In Auto mode, the camera will continue to scan documents after a very short pause. If you are scanning multiple pages, you may find it helpful to place the phone camera side down while you get the next page ready.) If you need to manually take a picture, tap on the camera shutter button. When finished scanning, tap “Save” or your device may have “Keep Scan.”
3. Tap the Share icon in the top right corner of the screen. (The share icon looks like a square with an arrow pointing up.) Select “Markup” from the menu at the bottom of your screen.
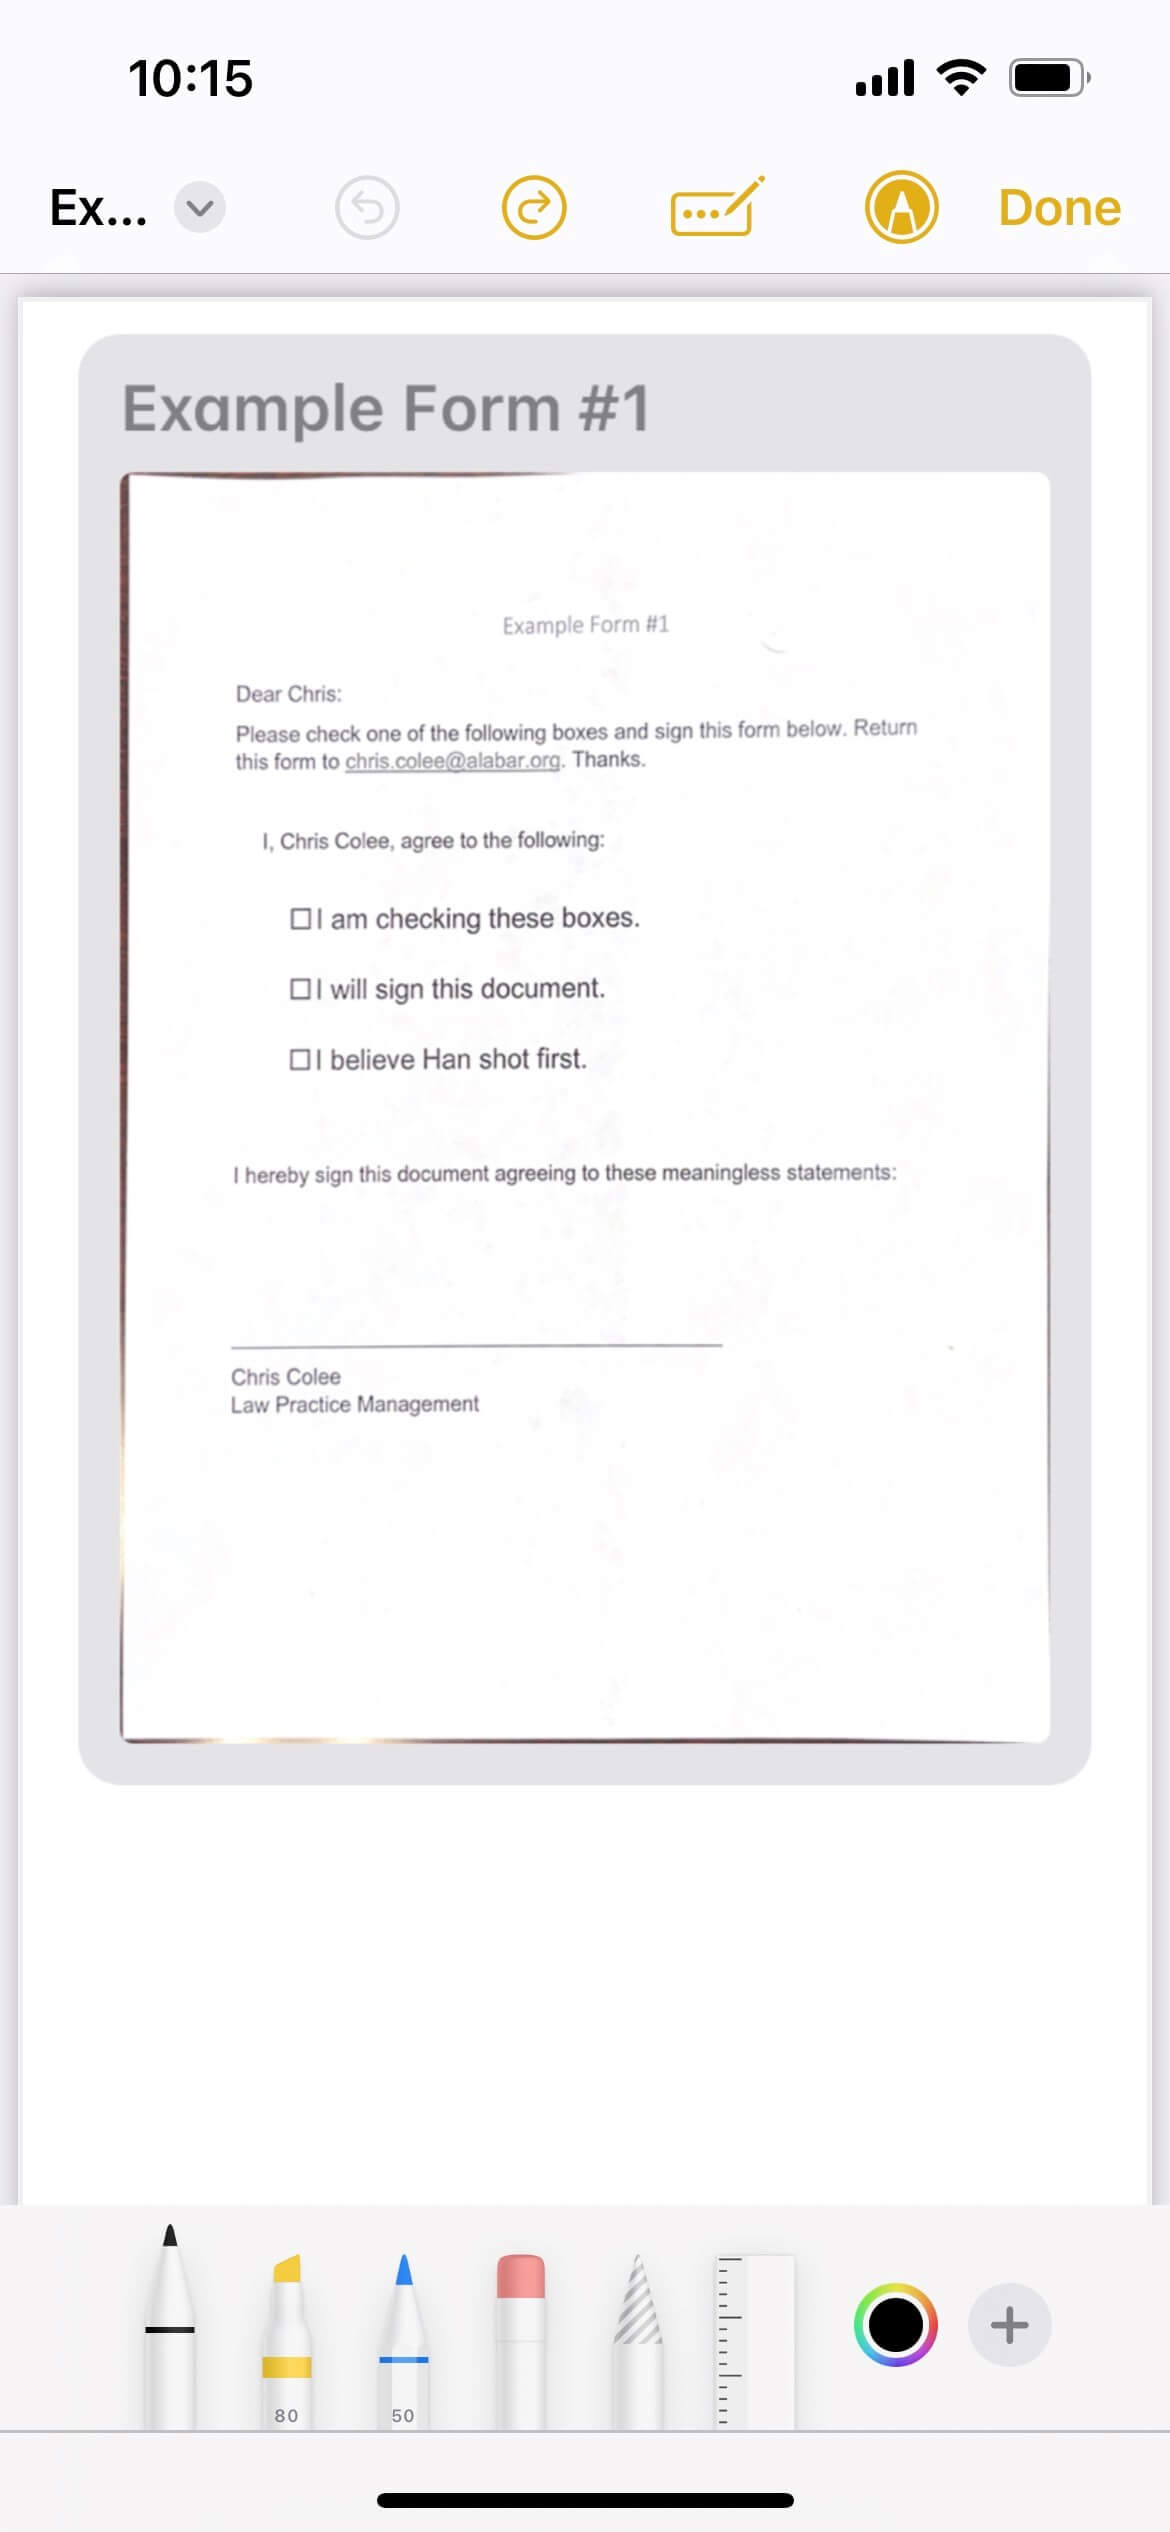
4. Tap the “+” icon in the bottom right corner of the screen. Select “Signature.” If you have already created signatures, select one you want to use. If you have not created a signature, or you have selected to “Add” a new signature, you will be directed to sign your name at the bottom of the screen using your finger. (I found it easier to use a stylus pen with a soft end made for touch screens.) If you don’t like your signature, you can tap “Clear” and try again until you are satisfied (good luck!). Tap “Done.”
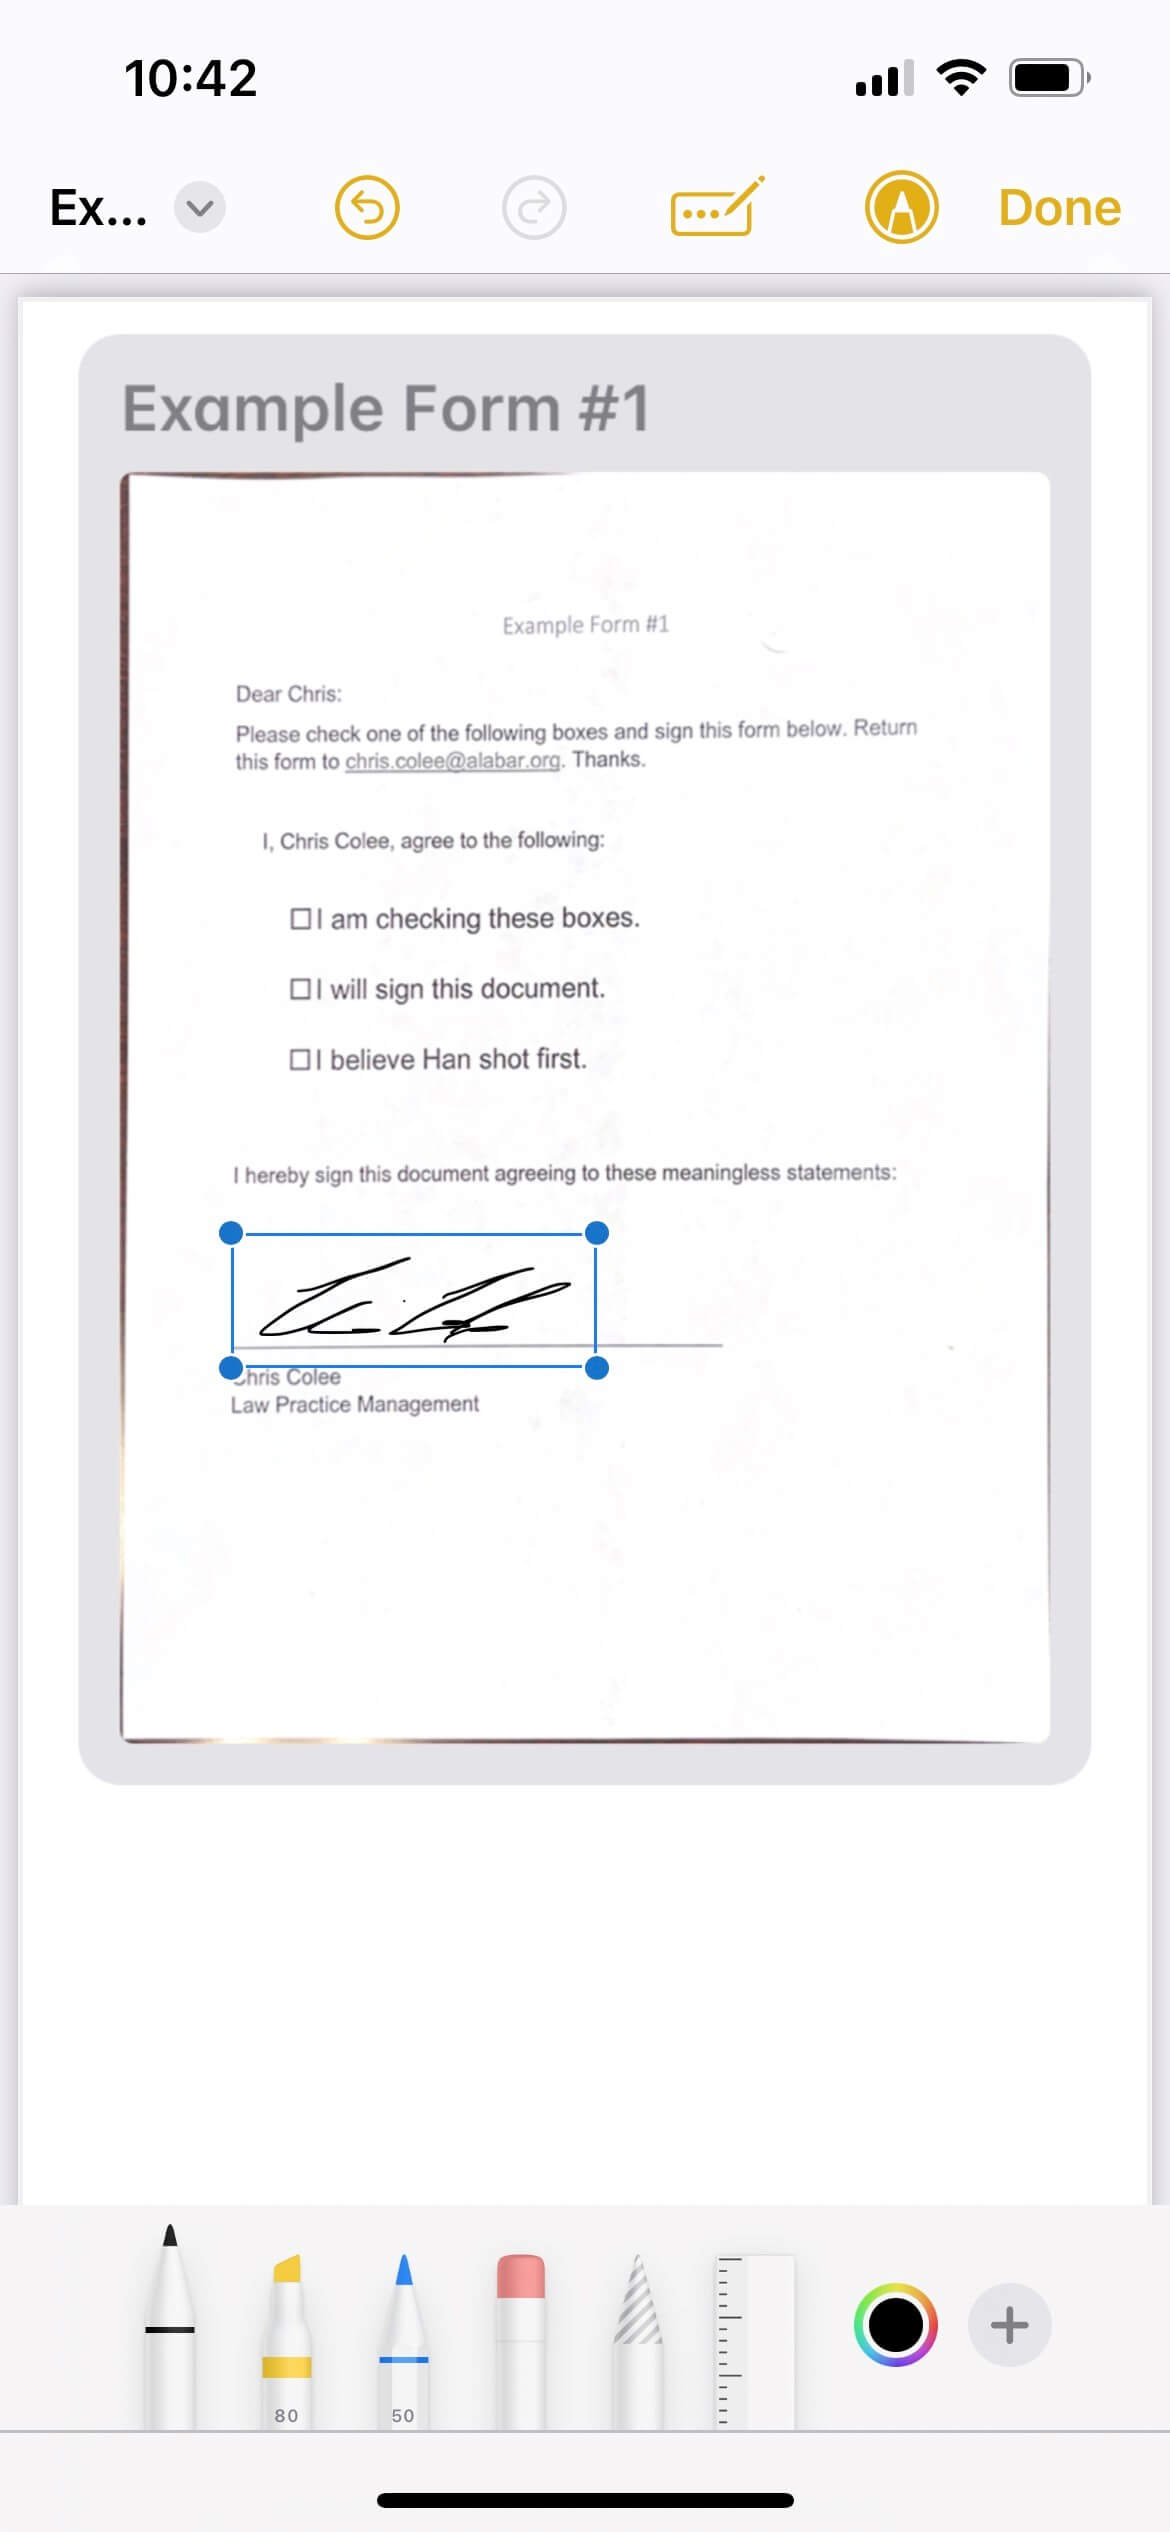
5. Your signature will appear somewhere on the document surrounded by a blue box. You can resize your signature by dragging the corners of the box. You can move the signature around the document using your finger.
6. When you have the signature aligned as needed, tap “Done.” Tap “Cancel” at the bottom of the screen. (If you want to save and email later…)
7. To email the signed document, click on the Share icon (square with an arrow) in the bottom right corner of the screen. Select “Mail” or your third-party email application, and the signed document will be attached to a new email.
8. To print the signed document, click on the Share icon and select “Print.” (Note that the document may also be shared via text, AirDrop, or by some other app.)
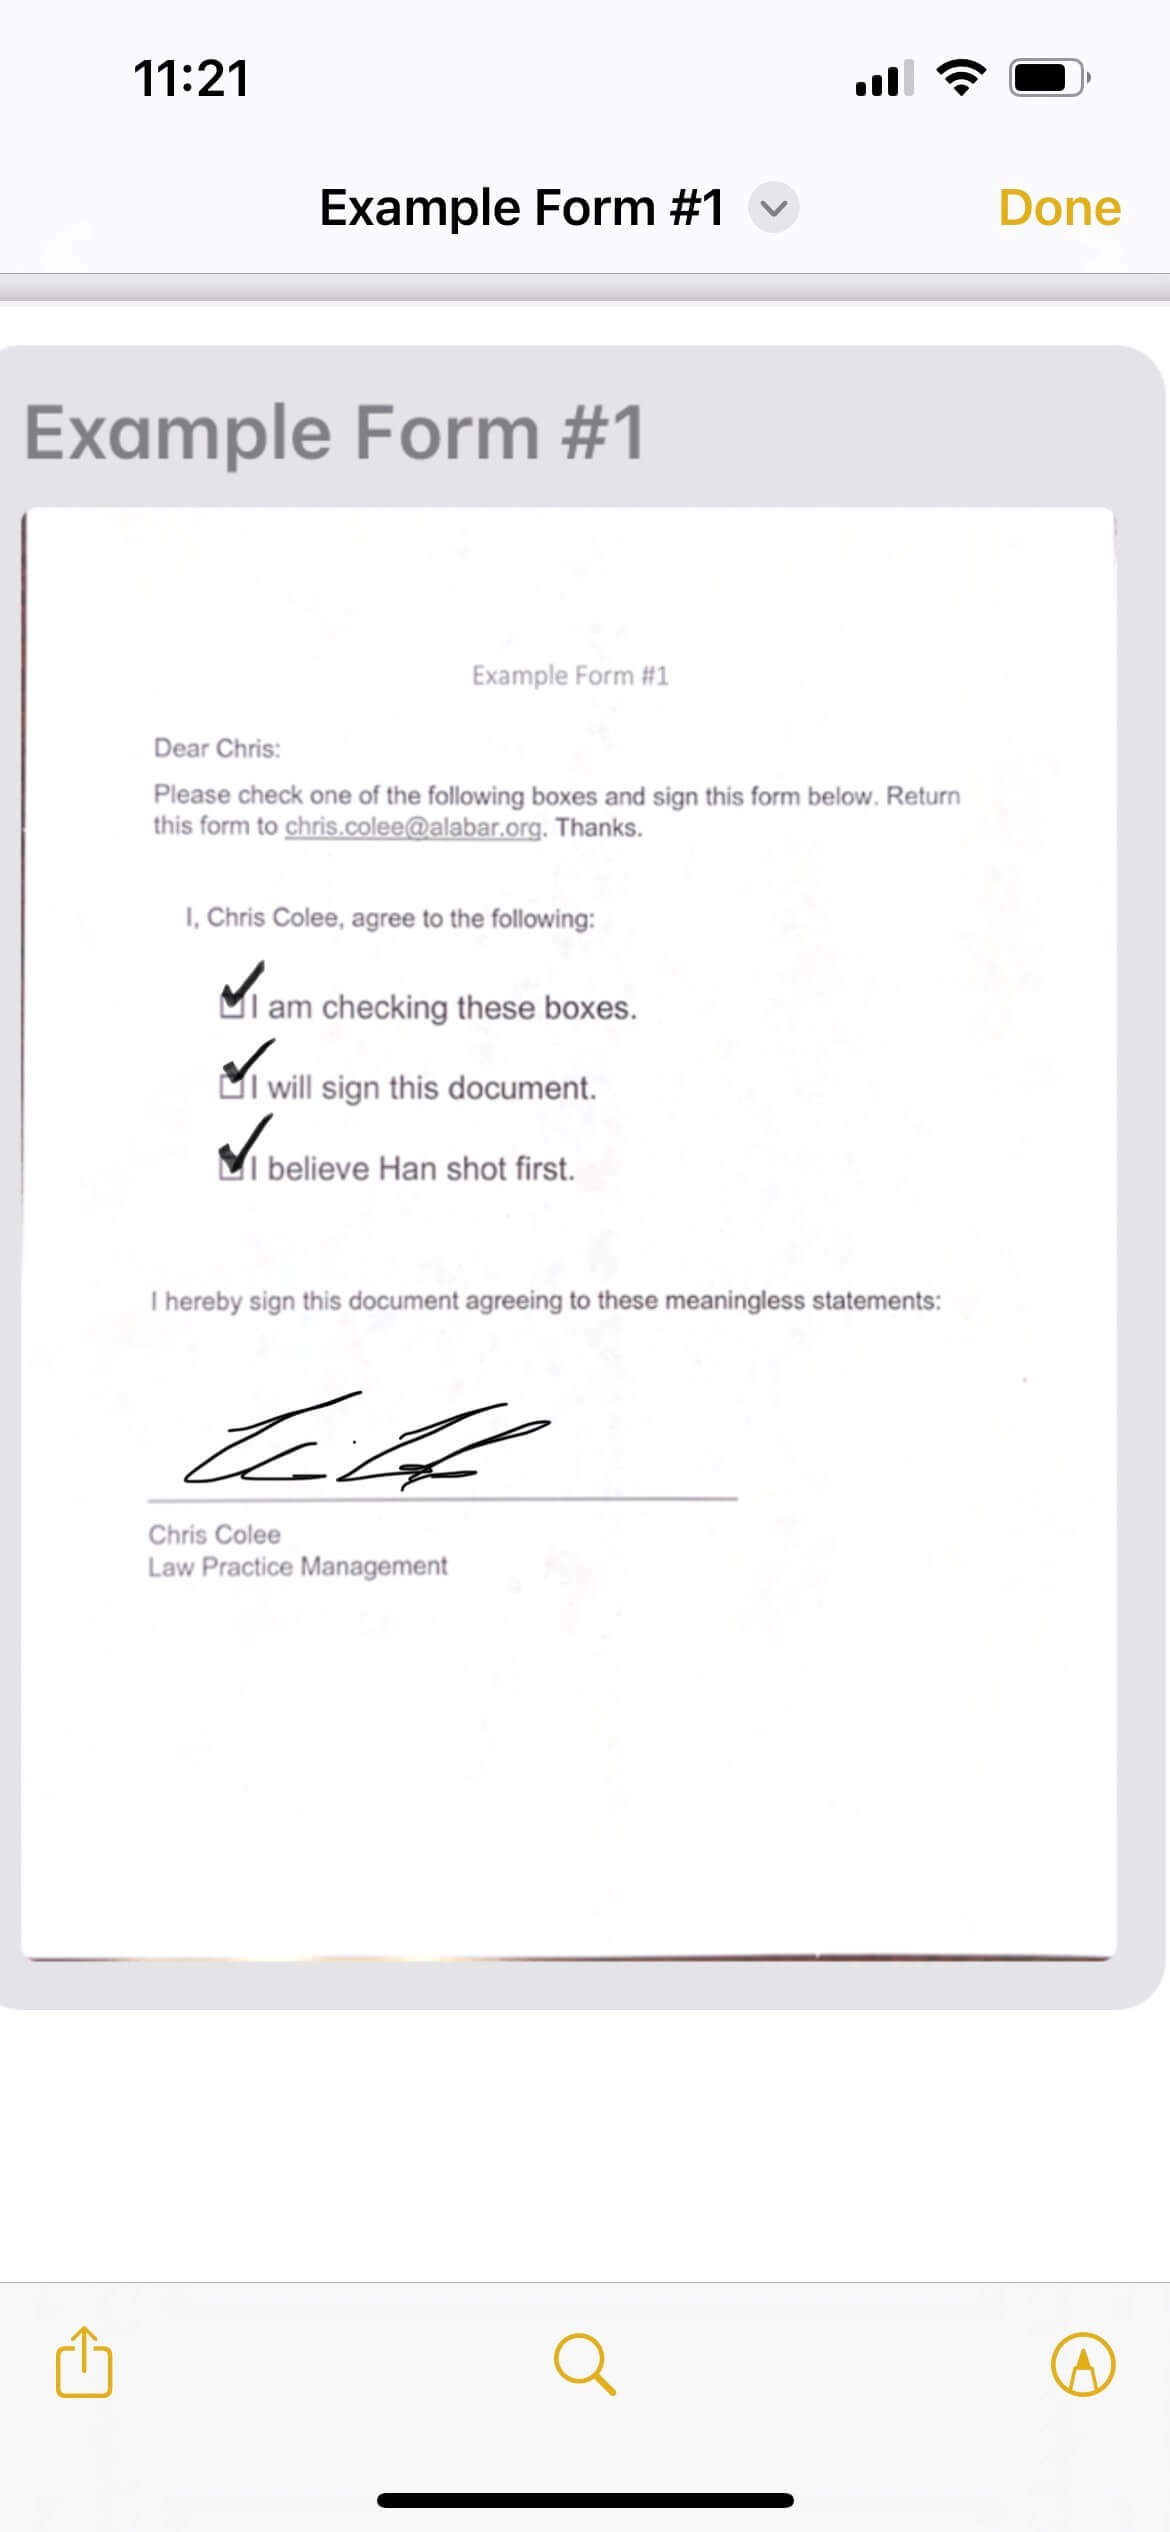
If you are feeling adventurous, check out some of the other markup tools and try editing the document in other ways, such as checking boxes on a form.

Chris Colee
Practice Management Advisor